Toyota Corolla Cross: Room Light
Removal
REMOVAL
CAUTION / NOTICE / HINT
COMPONENTS (REMOVAL)
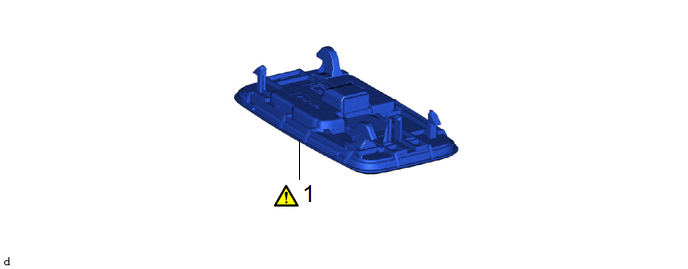
|
Procedure | Part Name Code |
.png) |
.png) |
.png) |
|
1 | NO. 1 ROOM LIGHT ASSEMBLY |
81240 |
.gif) |
- | - |
PROCEDURE
1. REMOVE NO. 1 ROOM LIGHT ASSEMBLY
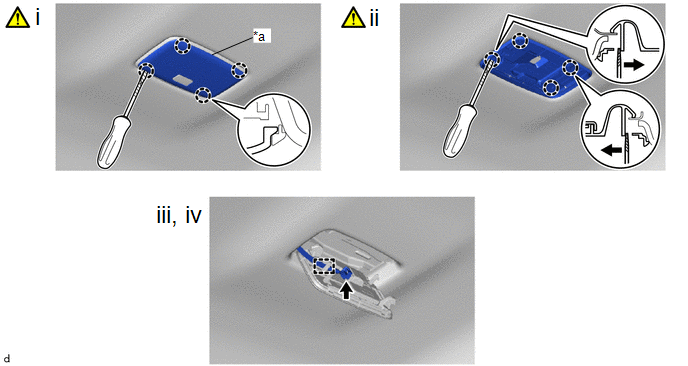
(1) Using a screwdriver with its tip wrapped with protective tape, disengage the claws to remove the room light lens.
(2) Using a screwdriver with its tip wrapped with protective tape, disengage the claws to remove the No. 1 room light assembly as shown in the illustration.
(3) Disconnect the connector.
(4) Disengage the guide to disconnect the wire harness.
Inspection
INSPECTION
PROCEDURE
1. INSPECT NO. 1 ROOM LIGHT ASSEMBLY
(a) Check the illumination.
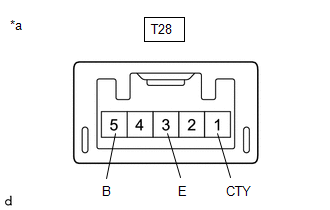
| (1) Apply auxiliary battery voltage to the No. 1 room light assembly and check that the lights illuminate.
OK: |
Tester Connection | Condition |
Specified Condition | |
T28-5 (B) - Auxiliary battery positive (+) T28-3 (E) - Auxiliary battery negative (-) |
Room light switch on |
Room light illuminates | |
T28-5 (B) - Auxiliary battery positive (+) T28-3 (E) - Auxiliary battery negative (-) |
Room light switch off |
Room light does not illuminates | |
T28-5 (B) - Auxiliary battery positive (+) T28-1 (CTY) - Auxiliary battery negative (-) |
Room light switch off |
Room light illuminate | |
T28-5 (B) - Auxiliary battery positive (+) T28-1 (CTY) - Auxiliary battery negative (-) |
Room light switch on |
Room light does not illuminate |
If the result is not as specified, replace No. 1 room light assembly. |
 |
|
*a | Component without harness connected
(No. 1 Room Light Assembly) | | |
Installation
INSTALLATION
CAUTION / NOTICE / HINT
COMPONENTS (INSTALLATION)
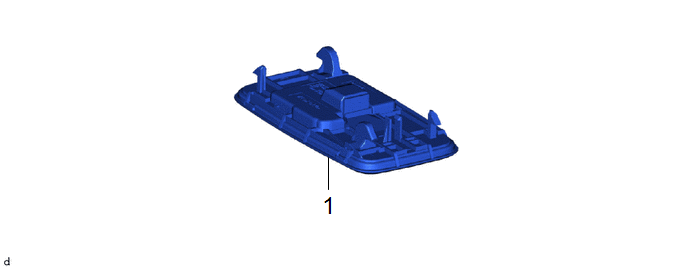
|
Procedure | Part Name Code |
.png) |
.png) |
.png) |
|
1 | NO. 1 ROOM LIGHT ASSEMBLY |
81240 | - |
- | - |
PROCEDURE
1. INSTALL NO. 1 ROOM LIGHT ASSEMBLY
READ NEXT:
RemovalREMOVAL CAUTION / NOTICE / HINT COMPONENTS (REMOVAL)
Procedure Part Name Code
1 VANITY LIGHT ASSEMBLY
81340
- - CAUTION / NOTICE
InspectionINSPECTION PROCEDURE
1. INSPECT VANITY LIGHT SWITCH LH (VISOR ASSEMBLY LH) (a) Check the resistance.
(1) Measure the resistance according to the value(s) in the table below.
Stand
SEE MORE:
FAIL-SAFE CHART
FAIL-SAFE CHART
(a) When the skid control ECU (brake actuator assembly) detects
a solenoid valve malfunction or abnormal signal from a sensor, the brake actuator
assembly cuts power and sends a signal indicating a malfunction of the electronically
controlled brake system to t
DESCRIPTION The main body ECU (multiplex network body ECU) controls the taillight and license plate light. WIRING DIAGRAM
for LED Type Parking Light
for Bulb Type Parking Light
CAUTION / NOTICE / HINT
NOTICE:
First perform the communication function inspections in How to Proceed with Trou