Toyota Corolla Cross: Reassembly
REASSEMBLY
CAUTION / NOTICE / HINT
COMPONENTS (REASSEMBLY)
|
Procedure |
Part Name Code |
.png) |
.png) |
.png) |
|
|---|---|---|---|---|---|
|
1 |
CLEAN VACUUM PUMP HOUSING |
- |
|
- |
- |
|
2 |
VACUUM PUMP ROTOR |
- |
|
- |
- |
|
3 |
VACUUM PUMP VANE AND VACUUM PUMP VANE CAP |
- |
|
- |
- |
|
4 |
END COVER |
29314A |
|
- |
- |
|
5 |
INSPECT VACUUM PUMP ASSEMBLY |
- |
|
- |
- |
.gif)
|
*1 |
VACUUM PUMP COVER O-RING |
*2 |
VACUUM PUMP VANE |
|
*3 |
VACUUM PUMP VANE CAP |
*4 |
VACUUM PUMP HOUSING |
.png) |
N*m (kgf*cm, ft.*lbf): Specified torque |
● |
Non-reusable part |
.png) |
Engine oil |
- |
- |
PROCEDURE
1. CLEAN VACUUM PUMP HOUSING

(1) Clean the inside surface of the vacuum pump housing.
2. INSTALL VACUUM PUMP ROTOR
.png) |
Engine Oil |
.png) |
Install in this Direction |
(1) Clean the vacuum pump rotor.
(2) Apply engine oil to the areas of the vacuum pump rotor shown in the illustration.
(3) Install the vacuum pump rotor to the vacuum pump housing.
3. INSTALL VACUUM PUMP VANE AND VACUUM PUMP VANE CAP
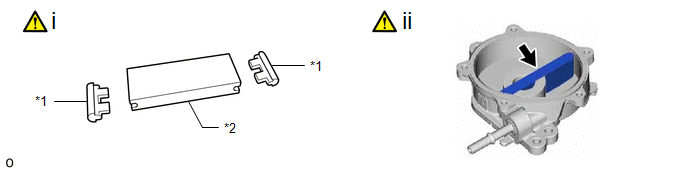
|
*1 |
Vacuum Pump Vane Cap |
*2 |
Vacuum Pump Vane |
(1) Apply engine oil to a new vacuum pump vane and 2 new vacuum pump vane caps and install the vacuum pump vane caps to the vacuum pump vane.
(2) Apply engine oil to the vacuum pump vane with the 2 vacuum pump vane caps and install it to the vacuum pump housing.
4. INSTALL END COVER
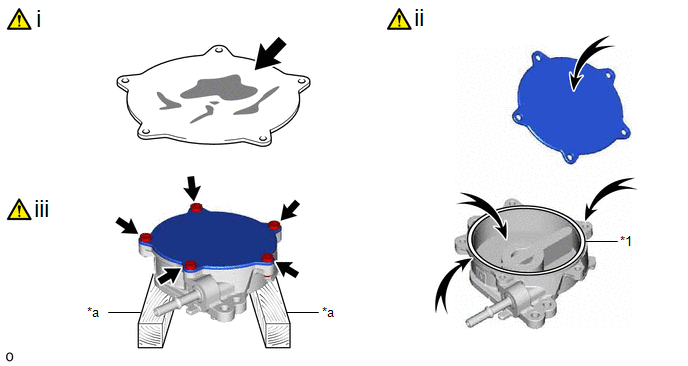
|
*1 |
Vacuum Pump Cover O-ring |
- |
- |
|
*a |
Wooden Block |
- |
- |
(1) Clean the inside surface of the end cover.
(2) Install a new vacuum pump cover O-ring to the vacuum pump housing.
NOTICE:
- Wipe off any oil on the end cover installation surface and end cover.
- Check that no foreign matter is on the vacuum pump cover O-ring or inside the vacuum pump housing.
(3) Using a T30 "TORX" socket wrench, install the end cover with 5 new screws.
Torque:
7.5 N·m {76 kgf·cm, 66 in·lbf}
NOTICE:
- Hold the pump so that the pump installation surface and fitting parts will not be damaged.
- As the housing deforms when force is applied, do not secure the housing with a tool such as a vise.
- Securely fit the T30 "TORX" socket wrench to the screws.
- After installing the end cover, check that the vacuum pump cover O-ring
is not caught.
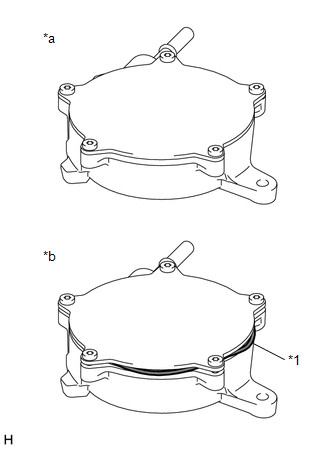
*1
Vacuum Pump Cover O-ring
*a
Correct
*b
Incorrect
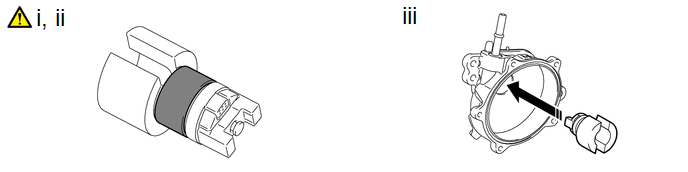
5. INSPECT VACUUM PUMP ASSEMBLY
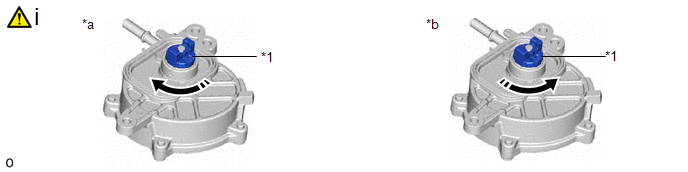
|
*1 |
Coupling |
- |
- |
|
*a |
Correct |
*b |
Incorrect |
(1) While looking from the coupling side of the vacuum pump assembly, rotate the coupling clockwise.
Standard:
Rotates without locking.
NOTICE:
- As the vacuum pump vane cap may become damaged, do not rotate the coupling counterclockwise.
- Even if rotation fluctuates between heavy and light, it is not a malfunction unless the coupling locks.


